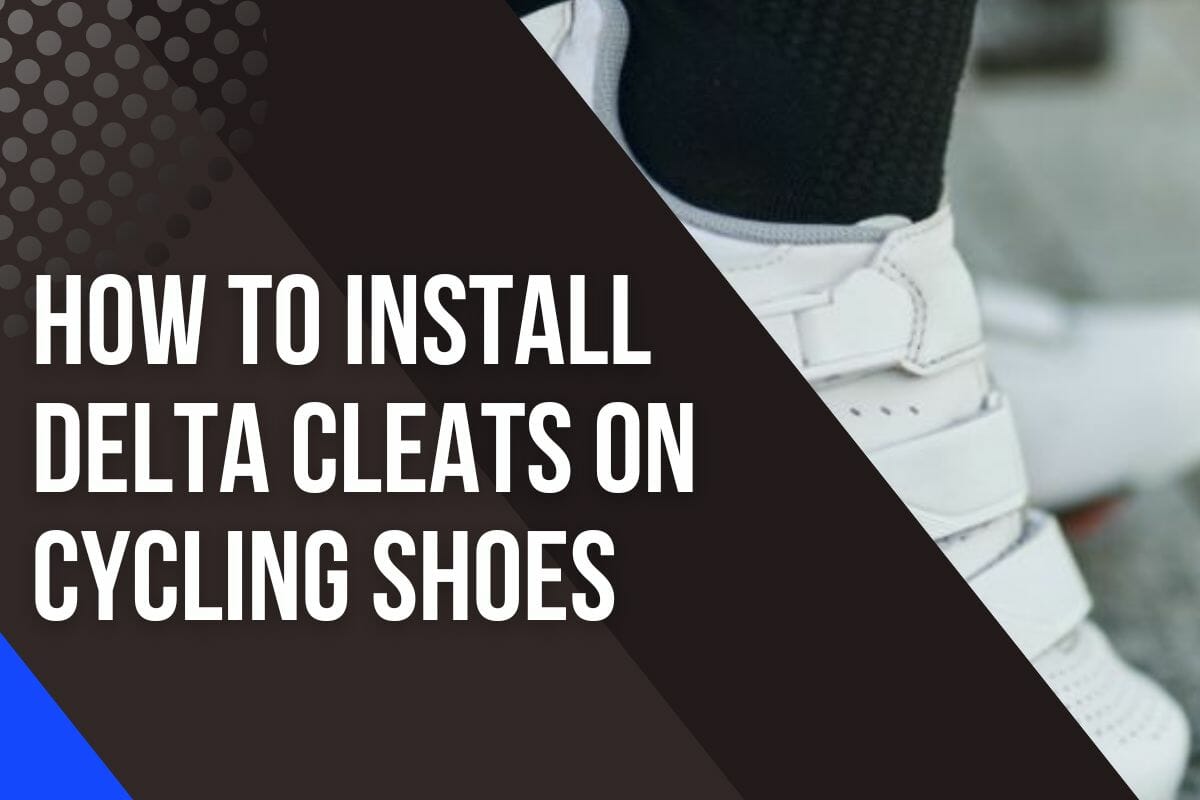
How To Install Delta Cleats On Cycling Shoes
When you’re ready to take your cycling performance to the next level, one of the best choices you can make is to invest in a set of cleats for your cycling shoes.
Cleats are designed to link your feet and pedals together so that as you push down on one pedal, the other pedal follows suit.
This article will show you how easy it is to install Delta cleats on cycling shoes and get all the benefits they provide.
With just a few basic steps, you’ll be pedaling with more power and efficiency than ever before.
So let’s get started!
Why Use Cleats?
Using cleats on cycling shoes is an important step for anyone wanting to get the most out of their bike pedals.
Cleats are specially made pieces that attach to your cycling shoe and provide a secure connection between you and the pedal system.
This ensures proper foot retention, allowing riders to efficiently transfer power from their legs to the bike’s drivetrain.
When you are not clipped in, you depend solely on a pushing motion to spin the pedals.

However, with your feet locked into the pedals, you can now use the pushing and pulling action with each rotation of the pedal to maximize your speed and usage of muscles.
This means that more muscles will become engaged with every spin, as they no longer have to compensate for a slipping foot when not using cleats.
Pedaling faster results in greater inertia which can make it difficult to control if not clipped into the pedals.
Using cleats gives you increased stability and power in their cycling pedal strokes even at higher speeds.
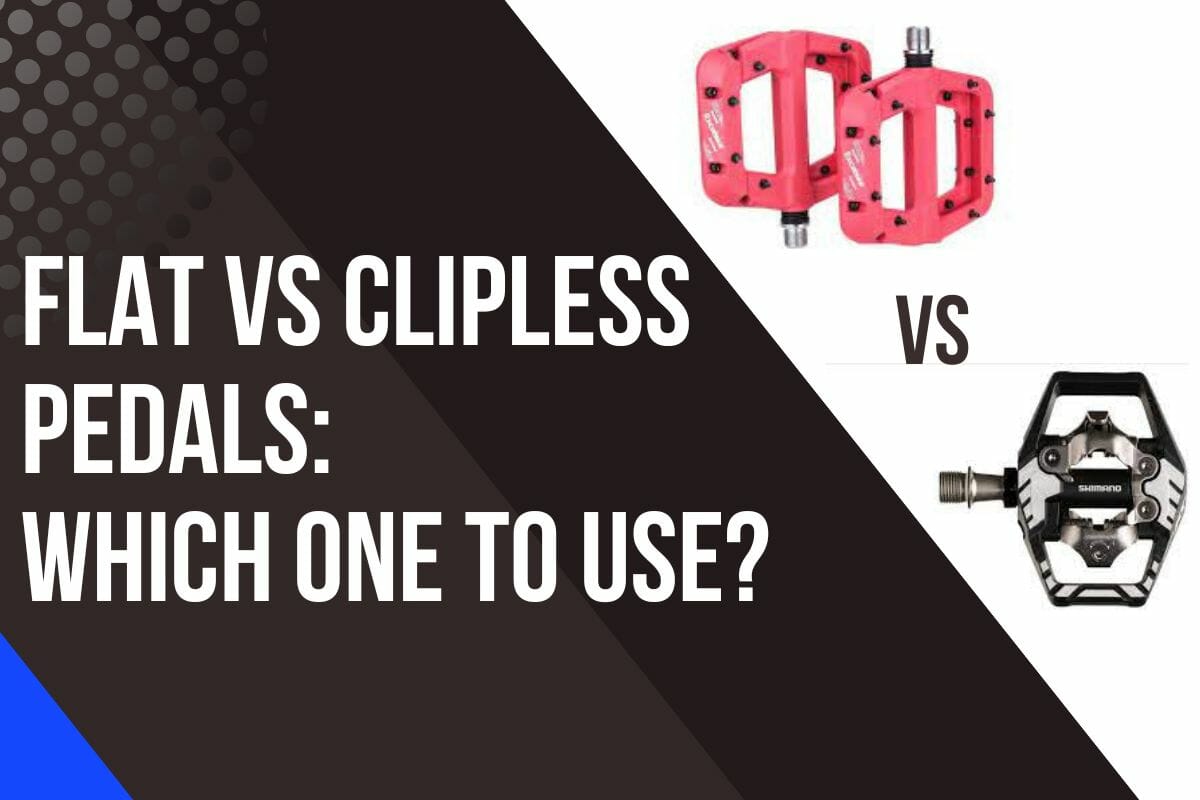
Types Of Pedals And Cleats
Clipless pedals are one of the most popular options for bike riders nowadays.
Instead of using a normal platform pedal that you slip a regular shoe into, a clipless system initially requires the use of dedicated cycling shoes with matching cleats.
The two most common types of these pedals systems are:
- SPD Cleats
- Look Delta Cleats
Both function in very similar ways by having the rider press down their shoe on the pedal to clip in before they begin pedaling.
Once in place, your feet will be held firmly in position while riding, giving you greater control over how far forward and back you move your feet during a ride.
You must twist your foot sideways to disengage your shoe from the pedal when you come to stop.
Every bicycle uses a different pedal system.

This means that if you have an SPD pedal system then you should only use cleats made specifically for that system and vice versa for Look Delta pedals.
SPD cleats are usually used in road bikes, commuter bikes, and indoor bikes.
Look Delta cleats are mostly used on the Peloton bike but can be often seen in mountain bikes or road bikes as well.
How To Install, Fit, And Adjust Cleats On Your Shoes
If you want to optimize your cycling experience, you must understand the importance of cleat fitting.
Simply placing cleats in the middle of the shoe is not sufficient, as this can cause pain further up the kinetic chain due to improper biomechanics.
To make sure you get the most out of your shoes, it’s essential that you fit them correctly. Here are 5 simple steps to help you do so.
1. Mark The Position Across The Ball Of Your Foot
The first step to installing delta cleats on cycling shoes is marking the position across the ball of your foot.
This ensures that the cleat will be properly positioned for maximum power and efficiency when pedaling.
To do this, wear your cycling shoes (without any cleats installed), pinpoint the position of your big toe, and draw a mark on it.
Next, pinpoint the position of your smallest toe and draw a mark.
So now we have 2 points that we can use to draw a line.
2. Draw Between The Points And Find The Midpoint
Drawing across the sole of shoes and finding the midpoint help to accurately measure the size, shape, and length of your feet.
To begin this process, remove your shoes and flip them over so that you can access the bottom of the sole.
Once this is done, draw a line across the sole between the 2 marks you have drawn earlier.
3. Locate The Centre Of Your Cleat
The center of your cleat is the point that sits directly over the pedal axle and will determine how you transfer your power through the pedals.
Finding this center position is simple – take a look at your new cleats and you should find a small marking to denote the center.
Different manufacturers will have different markings, Shimano model cleats usually have a mark on the side while Look models often have a small hole in the top of them.
4. Grease The Bolts
Before fitting the cleats, it is important to ensure that the bolts are sufficiently greased.
This will prevent corrosion and help ensure a secure fit for your feet.
Start by applying a small amount of grease to each bolt before attempting to install them in the shoe.
Be sure to cover all parts of the bolt, including both ends and any threads that are present.
Once done, take care not to let it drip onto the fabric or rubber sole as this may cause damage over time.
5. Rotate And Tighten
When you’re ready to insert the bolts into the holes in the shoe, do so slowly and carefully.
Firmly press down while rotating clockwise until they are completely seated within their designated slots.
Don’t overtighten too much otherwise, you may risk stripping out its threads or damaging other components inside your shoes.
Over To You
Installing Delta cleats isn’t a difficult task if you have all the necessary items and follow the steps outlined above. Make sure to get them set up correctly so that you can enjoy your ride with more power and efficiency without any potential injury.